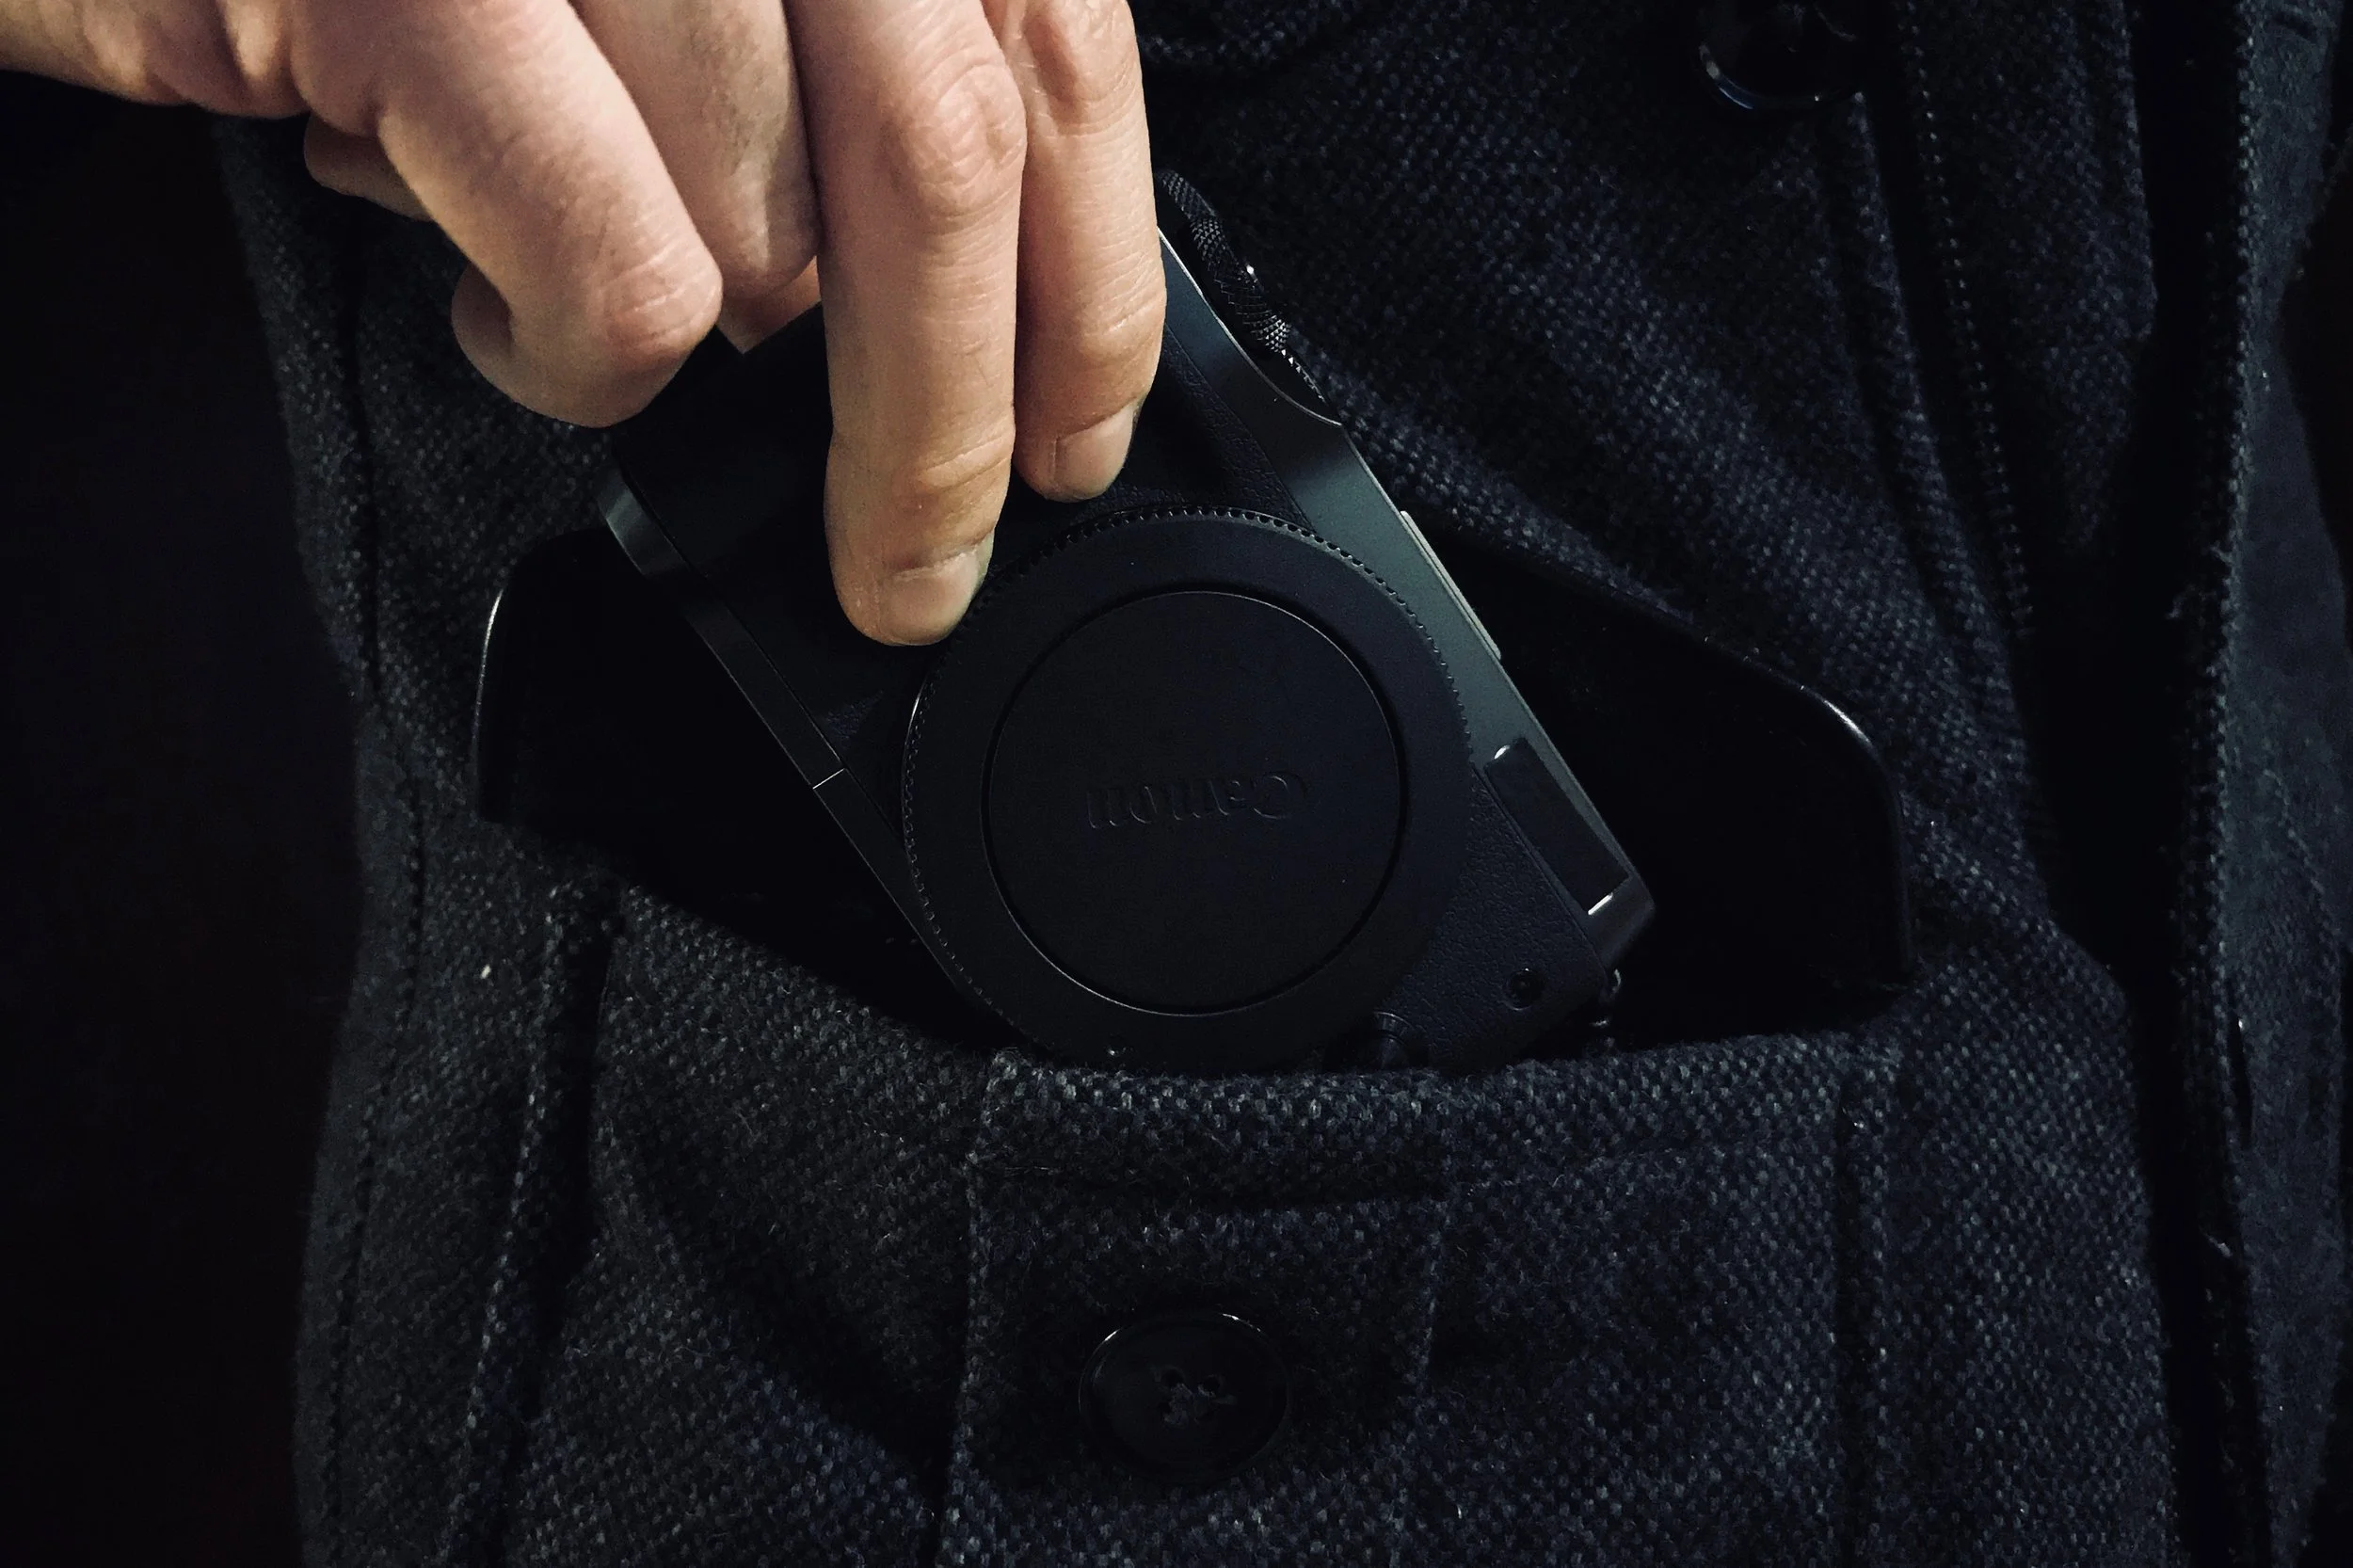
Increasing sharpness and IQ on the EOS M (M5, M6, M100, M50) Canon cameras
When i first picked up the Canon M6 camera I was delighted by its small size, quality of the colors, and the ease of use. The camera was a admirable performer for a beginner photographer. As i progressed with the M6, I soon realized the images, even through my best lenses, were not as sharp as I would like them to be. In some cases they were comparable to my 12 megapixel smart phone camera. I was perplexed and even disappointed. I asked myself “did I just seriously spend all that money for a camera that will give me smartphone quality?”.
After some research (see link here) I soon found out the issue was due to the picture profile and the absurd amount of correction features turned on by default. I'm assuming these are set in this fashion to help the aimed demographic for this camera, the amateur photographer. After turning some of the setting off and adjusting the picture profile I soon found my expensive camera to be preforming closer to my expectations.
To help others get the most out of this camera I am creating this guide to help find these settings and detail the setting I personally use. I do not have all the setting turned off and the sharpness at the maximum level, as one might think, but If you want the sharpest image at the expense of noise, vignette, and chromatic aberration (which can be adjusted in post) then I suggest turning off all the setting listed below, increasing the sharpness, and shooting in RAW.
Custom shooting modes
Before I get into these setting it should be known that the setting can only be saved to the custom shooting modes, c1 and c2. These setting may be adjusted in modes such as Auto but upon turning off and then on the camera (restarting) the setting will be reset to default. To keep the setting permanent I turn on my camera, switch to a custom shooting mode, adjust the setting, and then proceed to save the setting by going into menu>wrench>page 4>custom shooting mode (c1, c2)>register settings> and then select whichever custom mode I am in. By adjusting the setting after a fresh restart I insure that a one time tweak is not saved accidentally.
Turning off lens corrections (page 4)
The first settings are the lens correction settings. First make sure you are in a custom shooting mode such as C1 or C2. Then hit the “menu” button>the first camera icon which should be in red> and then page 4. In this page go to “Lens aberration correction”. These corrections are lens based and do not apply to manual lenses. It is up to you what you would like to turn on or off. I find these setting to work quite well so i keep them on especially the peripheral illumination setting. But, if you prefer you can turn them off and make the corrections manually. Turning them off will yield the maximum amount of sharpness.
Exposure settings (page 5)
Next we go to page 5, here I turned off “Highlight tone priority” and “Auto Lightning Optimizer” off. This will prevent the camera from making adjustments to exposure during and after taking a shot. These setting will modify highlights and shadows which is something I rather do in post.
Canons words on what Auto Lighting Optimizer is.
Picture profiles (page 6)
The last of the setting will be on page 6. First go to “picture style” which should open the picture style menu where you can preview different picture styles. I was looking to get sharper images so what I did is go to one of the user defined profiles at the very end of the list and modify one of them. To adjust the profile highlight the profile and then hit the physical “info.” button found next to the red record button.
Sharpness is not preferable for all shooting situations such as portraits.
Here you can tweak different sharpness settings as well as skin tone color and saturation. The adjustments that I felt comfortable with were 6:1:1:1:0:0. What is poorly stated is which direction you need to move the scale to get the results you want. For the Sharpness strength you need to have larger values to increase sharpness. For the next two, Fineness and Threshold, you need smaller values to increase sharpness. Since I was here I also increased contrast ever so slightly.
Where this is found in the manual.
Noise reduction (page 6)
The other two setting I changed are the “Long exp. noise reduction” and “High ISO speed NR”. For both of these setting I set them to off. Noise reduction is always accompanied by reduction in sharpness.
RAW (page 1)
Lastly, if you want the highest quality and most flexible images to modify in post then you should shoot RAW. If you plan to shoot jpeg then adjust the setting listed above accordingly.
Tip: If you are using the Canon Connect app to transfer images from the camera to a smartphone or tablet the images will be transferred as jpegs.
Image stabilization
Even though I was able to slightly increase the quality of my shots there are some inherent properties of the camera that can not be changed, such as the very powerful shutter. This is where I wish the Canon aps-c mirrorless cameras had electronic or a softer shutter or had IBIS. Using a stabilized lens will mitigate the effects of the earth shaking shutter these cameras have but not every lens has it. I have tested my 11-22 lens stabilized lens against my 22mm prime. The DXO mark for the 22 prime is higher than the 11-22 but my 11-22 has always given me much sharper images. Even taking multiple exposures with the 22mm lens, taken on a mini tripod, result in images that are every so slightly off. There are just some aspects of this camera that can not be changed.
Conclusion
Once you remove the bothersome image corrections, it comes down to knowing your lenses. Know what aperture and focal length your lenses work best at. Know at what ISO your camera will produce the most satisfactory images per given situation. Knowing your camera will have more of a effect of your images then a simple change in picture profile.


