Variations of Cook Sets for Hiking
All external links are Amazon affiliate links
Originally this was going to be a review of inexpensive cook set, but I then stopped to ponder. Why do I think this cheap cook set is worth reviewing? Not only would this kit be favored by few, but a setup like this is not ideal for every situation. So I started to research different cooking setups and heat sources. Thru experience and research I have compiled a list of what different styles of mess kits one could have for hiking, mountaineering, or thru hiking.
My hands on knowledge on some of the more expensive or complicated setups is limited, so to compensate I did copious amounts of research. You should take that into consideration while reading. My findings led me to a few key points to evaluate a mess kit setup; weight, quantity of people to feed, amount of luxury, and situation.
I wont be covering is food prep or carry ideology for food.
Materials (weight)
Weight, I find, to be one of the most important aspects of hiking in general. One should keep pack weight as low as possible, so it is natural that one would try to find a light cooking setup.
Weight will depend on the size of the cook set and the material it is made of. The mess kit will naturally have a pot or cup you will use to heat water or maybe heat some type of food, and this pot/cup will usually be made of three metals; stainless steel (SS), aluminum (AL), or titanium (TI). These metals are used specifically because they all are food safe, do not have rust issues, and either are inexpensive or very light.
Starting off with SS this metal should be avoided if possible. Steel is going to be strong, inexpensive, but is also the heaviest. If your trying to go light (as you should be) then try to stay away from steel cookware. It might seem tempting given how incredibly inexpensive some pots are, but your legs will thank you later.
Aluminum makes great cook wear. This material is the lightest out the three metals. The downside is it is also very weak. It can bend, dent, and deform if not handled properly. Another issue with AL is it conducts heat incredibly easy, so a pot or cup made completely out of aluminum might have very hot handles or top edges even though only the bottom section may have been in contact with a small heat source.
Titanium is going to be the middle child when it comes to weight, but where it shines is in its strength. Titaniums strength is comparable to steel (this is a rough generalization of many factors). Where titanium comes in last place is it is significantly more expensive then the other two metals. This is the sought after metal for light weight hikers.
So it sounds like titanium is holy grail of metals right? Well, not really. To give you an understanding of the weight differences Titanium is 60% the weight of steel, and aluminum is 60% the weight of titanium, roughly. This means aluminum is significantly lighter than titanium. Of course aluminum is weaker, but for something like a pot you don't really need the fort knox of cookware especially if that same pot will cost 10 times more in titanium.
Titanium is better for structural members, but even then you may get better or even just good enough weight to strength ratios with carbon fiber and even AL if the member is designed correctly. I try not dive to deep into the material science of these metals since there are so many factors to consider, and when it comes to cookware material you are only really looking into one characteristic; weight.
Set ups (quantity of people)
Your set-up will depend on volume allowability, number of people to support, and ultimately preference. Here are some mock setups that are commonly used and some variations to them.
Beginner tip: When it comes to volume conservation nesting your cook items inside of each other will help decrease the size your overall cook kit will take up in your pack. For example If your pot or cup is large enough then you may want to fit your heat source, utensils, or other parts of your cooking kit inside which in turn will save you space in your pack.
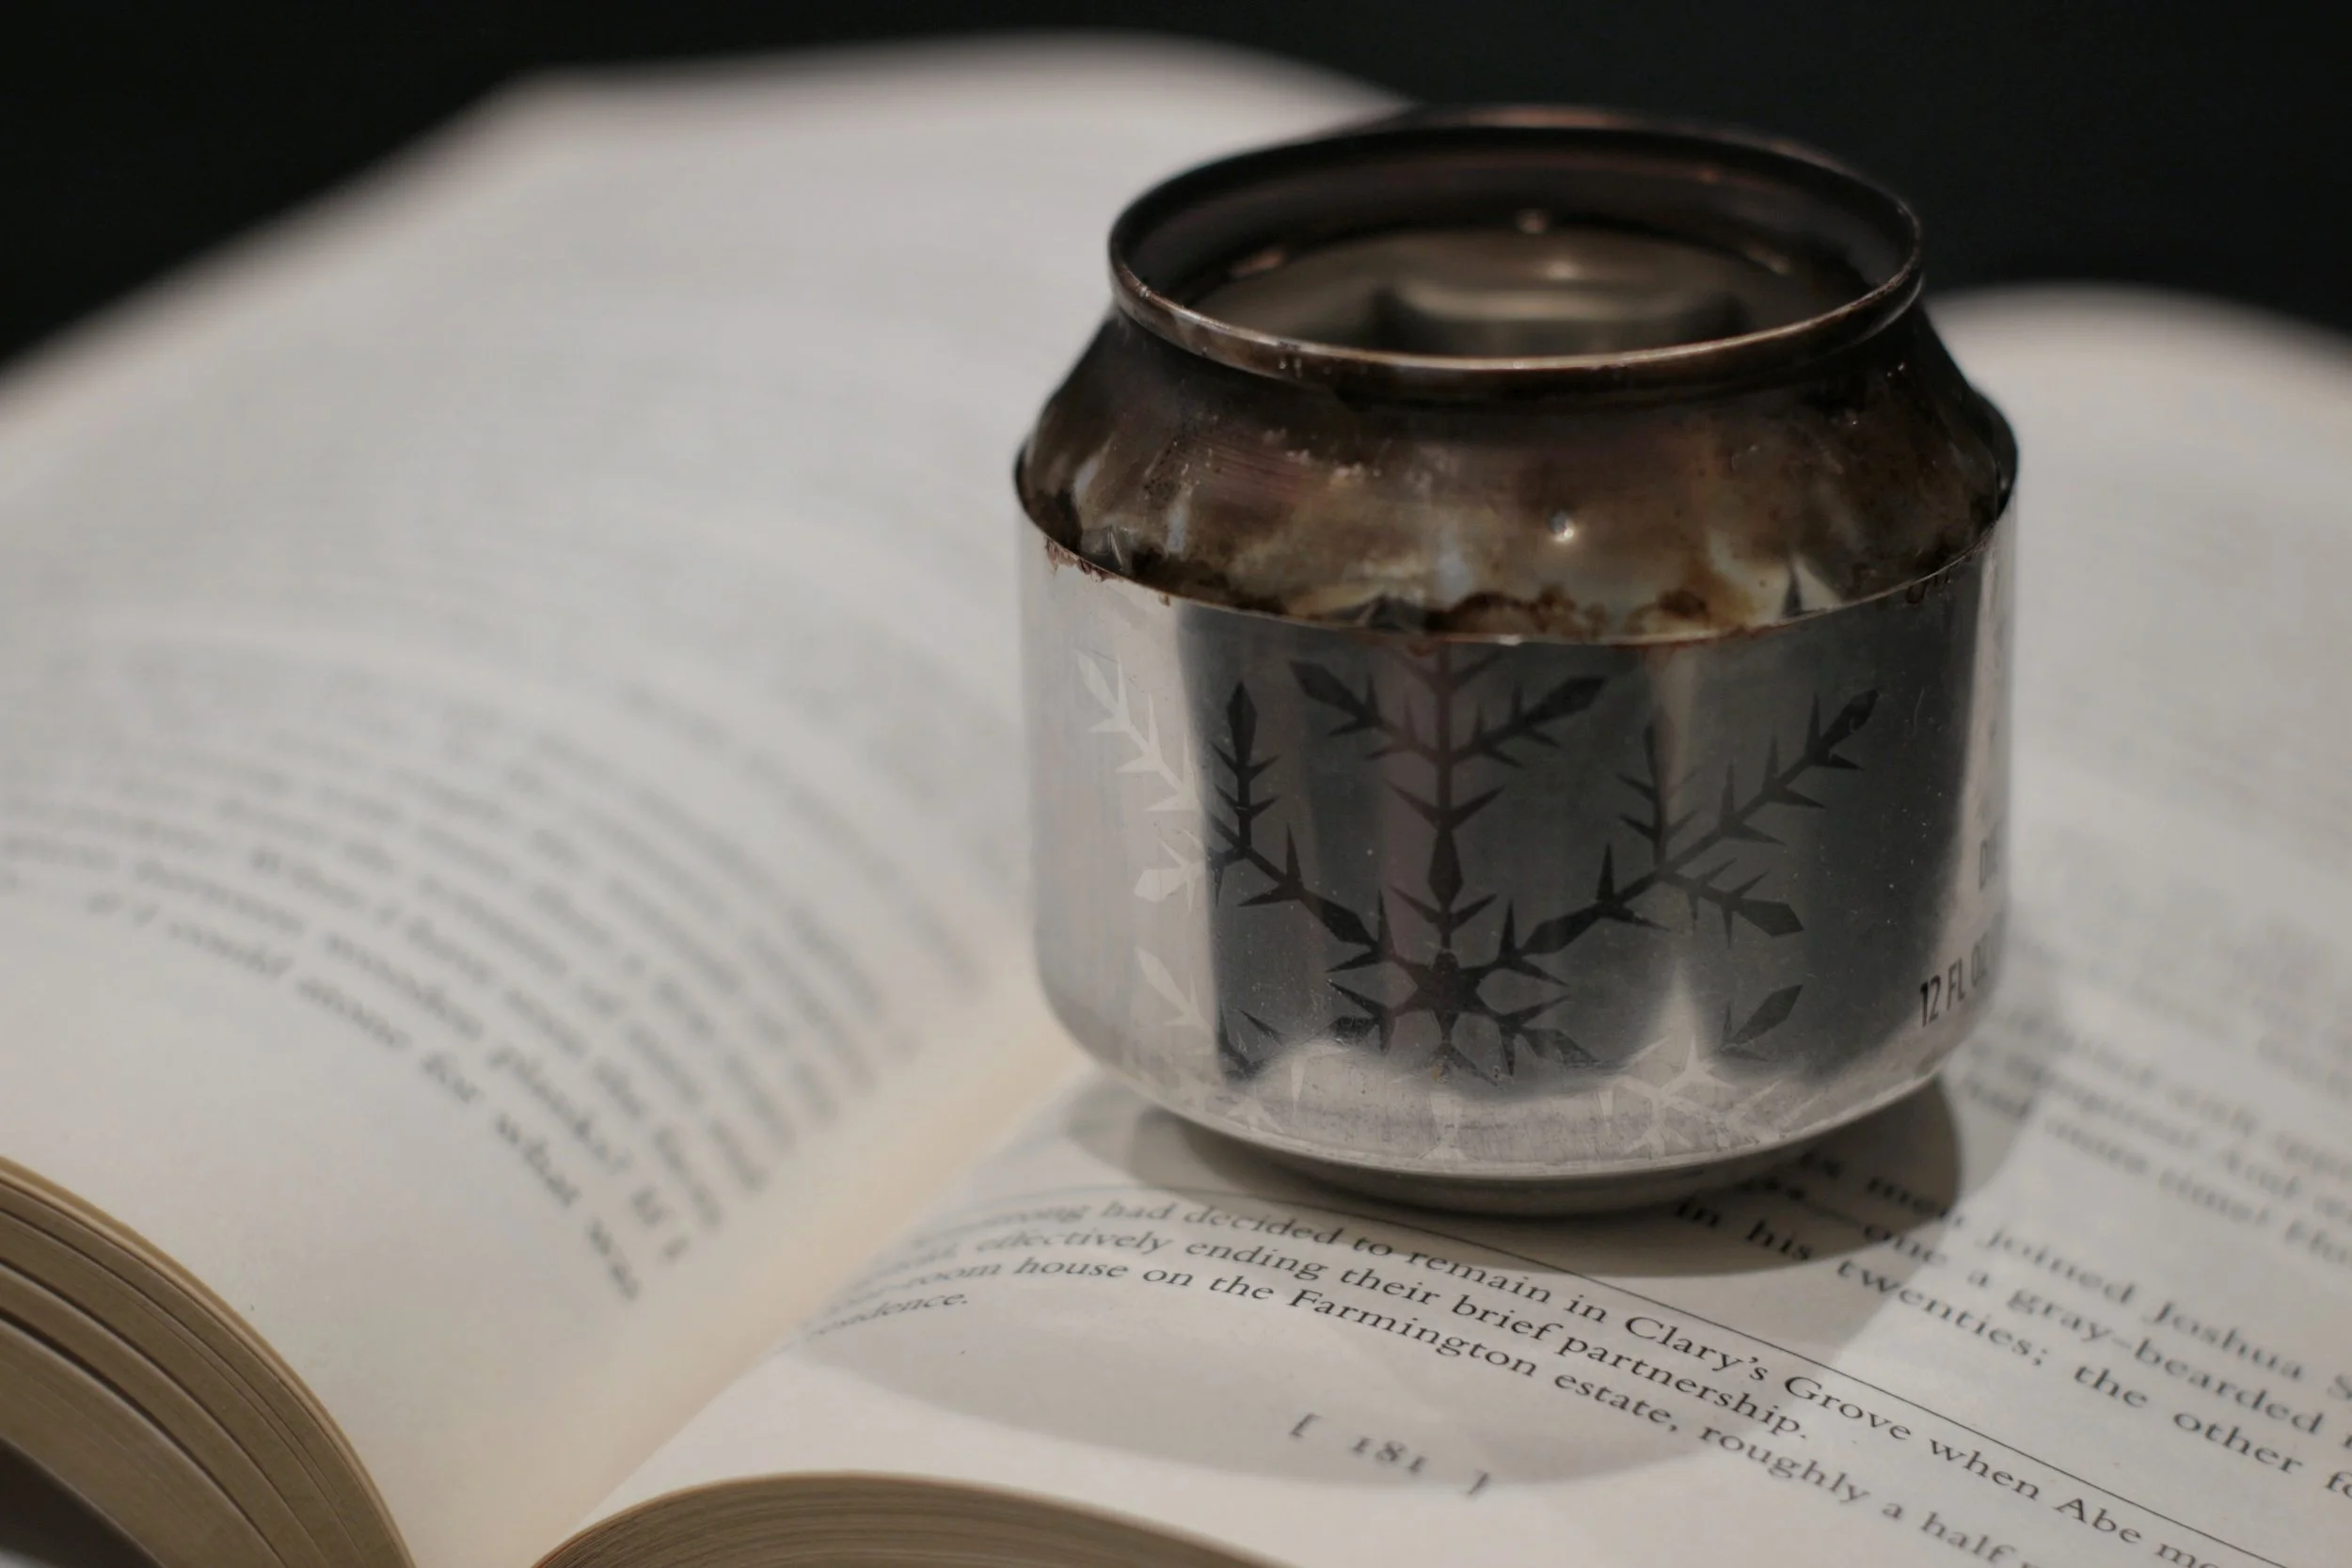
The most minimalist of setups will be one aluminum cup, a spoon, and a heat source. In this set up one heats up water, water then poured into the packed food such as oatmeal, instant mashed potatoes, easy pasta, or mountain houses for the more affluent, and then one eats out of package using a long spoon/spork. Usually these packages are quite tough and wont be damaged by hot water. A second water can then be boiled for tea or something if that is what you like. This method does not require you to clean your cup and the spoon can be rinsed clean which means one wont need to carry soap. This setup has the least versatility and convenience, but gets the job done with the least amount of weight. This is good for a single trekker.
A setup like this can be built upon by increasing the size of the cup so that more then one cup of water can be boiled. In that case if the size of the cup is large enough you might be able to place a small propane canister or penny stove inside.
The Stanely adventure cook set might be heavy (made from SS) but it is very versatile, dirt cheap, and indestructible. I know I said avoid SS, but here me out on this one. Some of the features of the cook kit are; lid for increasing the heating efficiency, strain holes on the lid for straining pasta, graduations on the side, the handle is strong and will not get hot, handle flips over to lock the lid in place, and the handle on the lid is plastic so it wont be hot for removing the lid, but if the plastic is removed the hole can be used to connect a bailing wire since the pot is all metal it could be fully immersed in a fire. The set comes in at around $10 on sale, is large enough to hold a propane canister, has a lifetime warranty, and comes with two super duty plastic cups. This setup might be good for two people which means the extra weight you take on can be traded with your partner. Because of its weight, it is a tough sell for the ultralite backpacker, but some of its features may be something you seek in your next cook kit.
Another setup which is nice is a pot with frying pan lid. A set up like this will give you the flexibility to cook a multitude of meals. Of course if you are going to be cooking in your pots you will need to properly clean that equipment. I will write a more extensive article on on cleaning, but for now I will say you will need to bring biodegradable or environmentally friendly soap,sponge, or copper wool. This is best if you are the designated cook, are hiking with more people, and know how to clean your equipment correctly on the trail. Emphasis on the cleaning your equipment correctly as this can result in you getting sick.
Accessories (level of luxury)
After some time on the trail one starts to gain some insight on products that help ease this detachment to the warm safe haven of your home, but these are mostly convenience items that are completely optional. For example I mentioned a long spoon or spork which helps when reaching deep into those mountain houses and avoids any hot food getting onto your skin.
If you enjoy tea but are using the single cup setup you may want to buy hotlips which will let you sip off of that super hot AL cup.
Addition to a solo cup one can include a plastic cup into their single person cook set so that one can enjoy a tea while they eat. Plastic is going to be light, durable, and wont conduct heat so the edges will be cool to your lips unlike AL. If that cup is only used for, lets say tea and water, it wont matter if it has a tea taste or smell, nor will it have a food taste.
Heat sources (situation)
I wont go to in depth on the different methods one might use mostly because I haven't used all of them, but just know that their are different options for heating sources.
Jetboil: The most efficient yet most expensive system. The jet boil system is an all in one (single user or multi user depending on what size jetboil you buy) mess kit that will boil water in a short amount of time. This is a great and reliable system but very expensive. Where this system might really shine is in extreme conditions like very cold places where lighting certain heat sources may be difficult or require complicated steps that your freezing hands can not preform. Jet boils are simple and use commonly found fuel, propane canisters.
Penny stove/alcohol stove: This is the least expensive system, but uses a fuel that can potentially spill and is not as efficient as some of the other sources. At lower temperatures it may be impossible to light (under 0 F or -18 C). This is also a DIY system (you can also buy alcohol stoves but where is the fun in that) but we have created an article on how to make one of our favorite alcohol stove designs.
Propane canister: This is probably the easiest fuel source to find. It is reliable and safe. Of course you are going to need to buy a piezo igniter so that you can ignite the fuel and have a place to put your pot. These can be very cheap which makes this setup quite popular.
Wood stove: If you go this route you will be creating mini camp fires every time you want to boil water. A collapsible wood stove can be light and small alternative to a camp fire. The disadvantages of this is it may be time consuming to prime or light the stove and requires one to fetch its fuel. The advantage of this setup is that fuel is free. You will need to have access to dry wood, but this may not be a problem in certain situations.
Solid fuel: Hexamine (Esbit) fuel tablets are great fuel that will burn in harsh conditions. They are easy to light and burn hot. Unfortunately the fuel can be expensive. You will then need a micro stove or a stand to prop up your cup/pot.
Conclusion
This article was not created to convince you on what cooking setup you should have, but introduce different ideas and setups some of which you may have not considered. Each setup inherently has its advantages and disadvantages, so it is important to evaluate where you want to give and take on some of the points of considerations.
If i were to be asked for my opinion I would tell people to keep your weight down as much as possible. Fatigue is the number one reason people do not complete a hike. Keep your weight down, learn your equipment, learn the basics, advance your skills, and never stop having fun.


